
Blog
How to Prepare for Drywall Installation: A Homeowner’s Essential Checklist
Proper preparation is the cornerstone of a successful drywall or plastering project. When you prepare for drywall installation correctly, you ensure a smoother process, a higher quality finish, and avoid costly delays or rework down the line. This guide provides homeowners with an essential checklist to get your space ready for new walls and ceilings.
Whether you’re tackling a small repair or a full-scale renovation, understanding these crucial steps will help you work effectively with your contractor and achieve the best possible results. From clearing the area to final inspections, every detail matters in creating a flawless surface.
Understanding the Importance of Preparation Before Drywall Installation
The quality of your finished walls and ceilings largely depends on the preparation that happens before the first sheetrock panel is even hung. Neglecting proper groundwork can lead to uneven surfaces, cracks, or other structural issues later on. A well-prepared site ensures that the drywall can be installed efficiently, taped and mudded seamlessly, and ultimately painted or finished to perfection. It also minimizes disruptions and unexpected challenges during the installation phase.
According to industry standards, a well-prepared framing structure can reduce drywall installation time by 10-20%, leading to quicker project completion and improved efficiency. This upfront effort is an investment in the longevity and aesthetic appeal of your home’s interior.
Step-by-Step Guide to Preparing Your Space
1. Clear the Work Area Completely
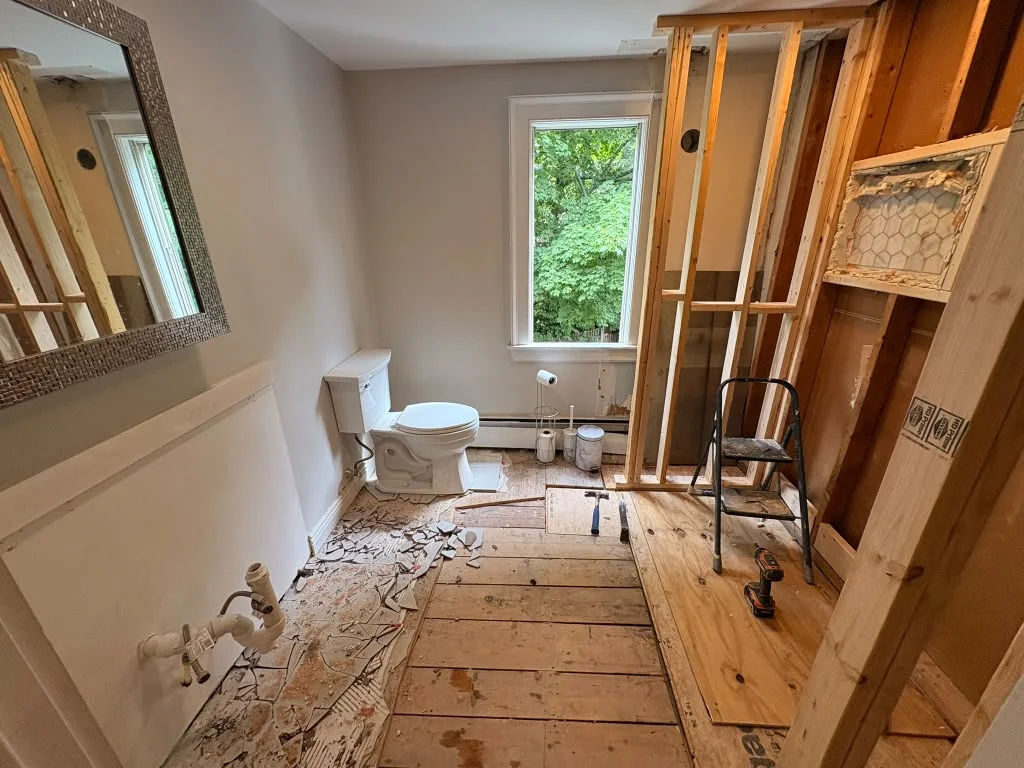
The first and most critical step is to completely empty the room or area where drywall will be installed. This means removing all furniture, appliances, decor, and anything else that could obstruct the work or be damaged. If items cannot be moved out entirely, they should be consolidated in a safe, designated spot and thoroughly covered.
- Remove Obstacles: Ensure clear access to all walls and ceilings.
- Store Valuables: Move personal items and breakables to another room.
- Protect Fixtures: If light fixtures, vents, or other elements cannot be removed, cover them securely with plastic sheeting and painter’s tape.
2. Protect Floors and Adjacent Areas
Drywall installation is a dusty and sometimes messy process. Protecting your floors and nearby areas is essential to prevent damage and simplify cleanup. Lay down heavy-duty drop cloths, builder’s paper, or plastic sheeting over all flooring surfaces. Extend this protection beyond the immediate work zone, especially in high-traffic pathways leading to the area.
- Heavy-Duty Coverings: Use durable materials that won’t tear easily.
- Secure Edges: Tape down the edges of floor coverings to prevent tripping hazards and ensure full protection.
- Dust Barriers: Consider sealing off the work area from the rest of your home with plastic sheeting and zipper doors to contain dust. This is particularly important for large projects.
3. Address Structural and Framing Issues
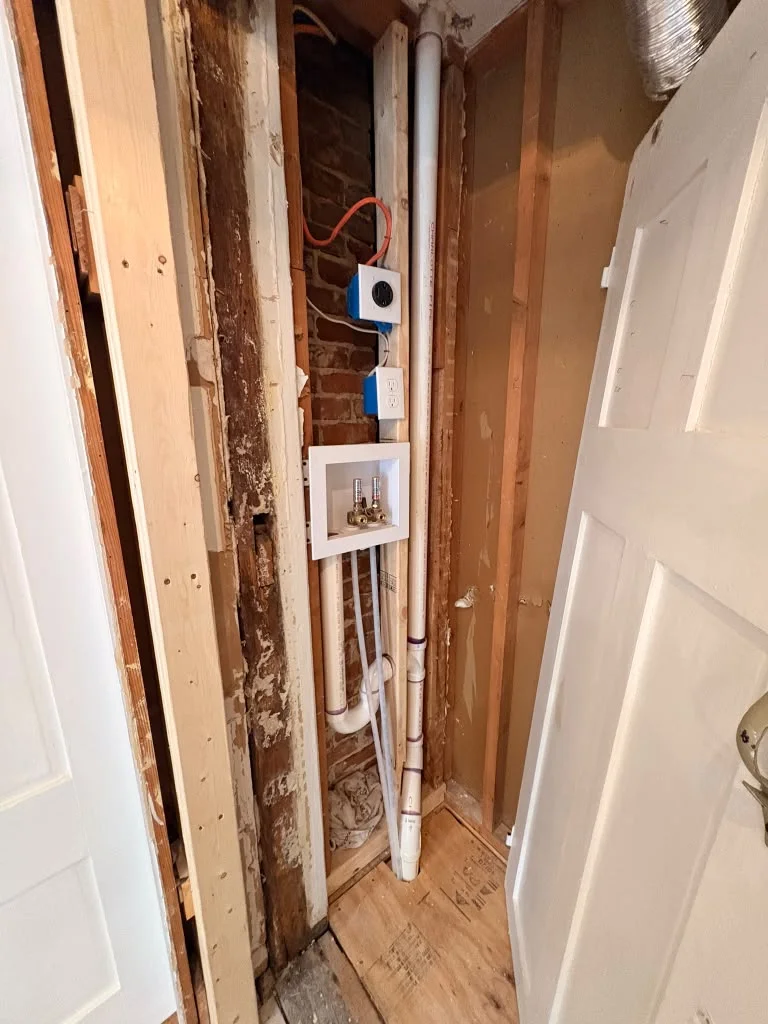
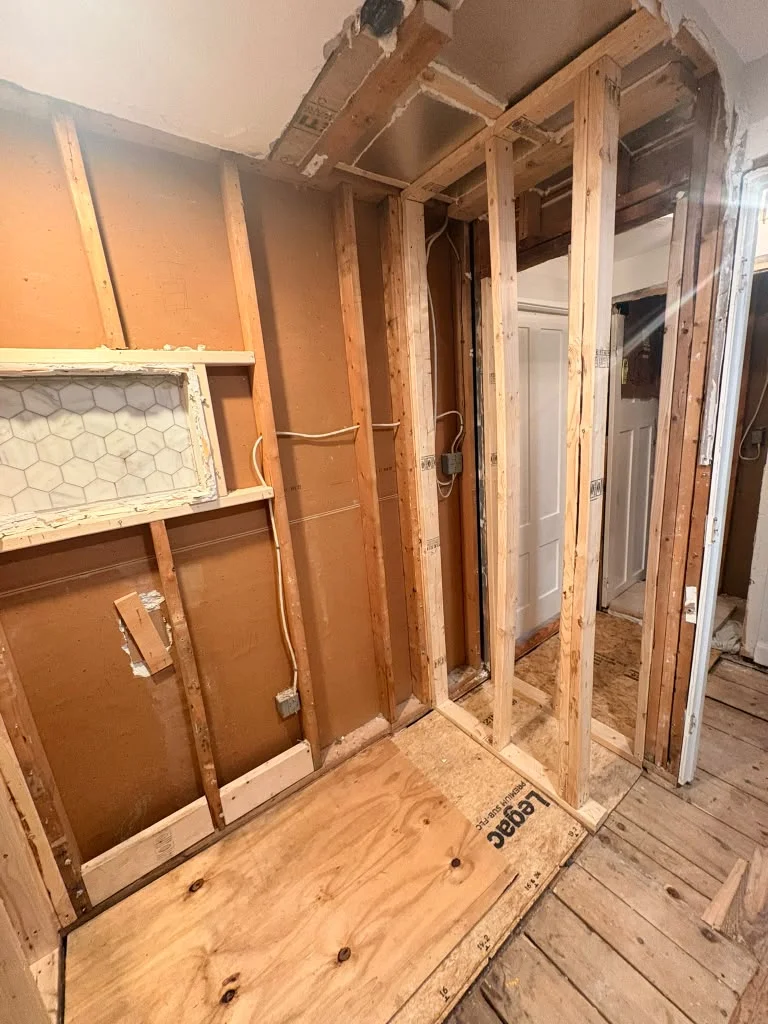
Before drywall can go up, the underlying structure must be sound and properly prepared. This involves inspecting studs, joists, and framing for any damage, unevenness, or missing components. Any issues here will directly impact the final surface.
- Inspect Framing: Check for warped, twisted, or bowed studs and joists. These should be straightened, shimmed, or replaced.
- Ensure Spacing: Verify that studs and joists are spaced correctly (typically 16 or 24 inches on center) to accommodate standard drywall sheet sizes.
- Blocking and Backing: Install necessary blocking or backing for future fixtures, cabinets, or heavy wall hangings. This is also crucial for corners and edges where drywall sheets meet.
- Secure Loose Elements: Tighten any loose framing members to prevent movement that could cause cracks in the finished drywall.
For complex structural work or if you’re unsure about the integrity of your framing, consulting a professional carpenter or general contractor is highly recommended. Boston Strong Plastering also offers carpentry services to ensure your framing is perfectly ready.
4. Complete Electrical and Plumbing Rough-Ins
All electrical wiring, plumbing pipes, and HVAC ductwork must be installed and inspected before drywall installation begins. Once the drywall is up, accessing these systems becomes significantly more difficult and expensive.
- Electrical: Ensure all outlets, switches, light fixture boxes, and wiring are in place and approved by inspection.
- Plumbing: Verify that all water supply lines, drain pipes, and fixture rough-ins are complete and leak-free.
- HVAC: Confirm all vents, returns, and ductwork are installed and sealed.
- Insulation: If needed, install all insulation before drywall to maximize energy efficiency.
5. Ensure Proper Ventilation and Temperature Control
The environment inside the work area plays a crucial role in how drywall tape, joint compound, and eventually paint will cure. Maintaining stable conditions helps prevent issues like cracking, shrinking, or mold growth.
- Temperature: Keep the room temperature between 50-70°F (10-21°C) for optimal curing of joint compound.
- Humidity: Control humidity levels. The U.S. Environmental Protection Agency (EPA) recommends maintaining indoor humidity levels between 30-50% to prevent mold growth, especially after new drywall installation.
- Airflow: Ensure good air circulation, but avoid direct drafts that can cause compound to dry too quickly.
6. Plan for Material Delivery and Storage
Consider where the drywall sheets will be delivered and stored. Drywall is heavy and fragile, so it needs to be protected from moisture and damage.
- Access: Ensure there’s a clear path for delivery personnel to bring materials into the house.
- Storage: Store drywall flat on spacers (like 2x4s) to prevent warping. Keep it in a dry, climate-controlled area, away from direct sunlight or moisture.
- Quantity: Double-check material quantities with your contractor to avoid shortages or excessive waste. According to the National Association of Home Builders (NAHB), proper preparation and accurate material estimates can reduce construction waste by up to 15%.
Working with Your Drywall Contractor
Even with thorough homeowner preparation, partnering with an experienced and licensed team like Boston Strong Plastering is crucial. A professional drywall contractor will conduct their own site assessment, confirm your preparations, and ensure every detail meets industry standards. They bring the expertise and specialized tools required for a flawless finish, from hanging the sheets to expert taping and mudding.
If you’re undertaking a new construction project or a major renovation, consider our comprehensive drywall services for new construction, covering everything from framing to the final finish. We are a licensed and insured HIC contractor, committed to delivering exceptional results.
FAQ: Preparing for Drywall Installation
Common questions from homeowners about getting their property ready for drywall or plastering projects.
What are the most important steps to prepare for drywall installation?
The most important steps include completely clearing the work area, protecting all surfaces, ensuring the framing is sound and level, and having all electrical, plumbing, and HVAC rough-ins fully installed and inspected. These foundational steps prevent issues and ensure a smooth finish.
How can I protect my floors during drywall installation?
To protect your floors, use heavy-duty drop cloths, builder’s paper, or thick plastic sheeting. Make sure to overlap seams and tape down all edges securely to prevent dust and debris from getting underneath. Extend protection beyond the immediate work zone into any pathways.
Do I need to clean up construction debris before drywall installers arrive?
Yes, it’s highly recommended. A clean and clear work area allows installers to work efficiently and safely. Remove any old plaster, wood scraps, nails, or other debris. This also helps your contractor focus on the installation rather than preliminary cleanup.
What temperature and humidity are ideal for drywall installation?
Maintaining a consistent temperature between 50-70°F (10-21°C) is ideal for proper curing of joint compound. Humidity should be kept between 30-50% to prevent issues like cracking, shrinking, or mold growth. Good ventilation without strong drafts is also beneficial.
Should I remove baseboards and trim before drywall installation?
Yes, all existing baseboards, crown molding, door casings, and window trim should be carefully removed before drywall installation. This allows the new drywall to be installed flush against the framing, creating a cleaner and more professional finish when the trim is reinstalled or replaced.
Why is it important for electrical and plumbing to be done before drywall?
All electrical wiring, outlets, switches, plumbing pipes, and HVAC components must be fully installed and inspected before drywall goes up. Once the walls are closed, accessing these systems becomes extremely difficult and requires costly demolition and repair. It’s a critical pre-drywall inspection point.
Explore Our Related Services
- Professional Drywall Installation
- Expert Plastering Services
- Skim Coating for Smooth Walls
- Drywall for New Construction Projects
- Comprehensive Home Renovation Services
- Sheetrock Installation
Ready to Start Your Drywall Project?
Getting your home ready is the first step, and choosing the right contractor is the next. If you need professional drywall installation or plastering services on the North Shore, MA, Boston Strong Plastering is here to help. Our licensed and insured team ensures a meticulous process from preparation to a flawless finish.
Have questions or need immediate assistance? Contact us today to discuss your project.