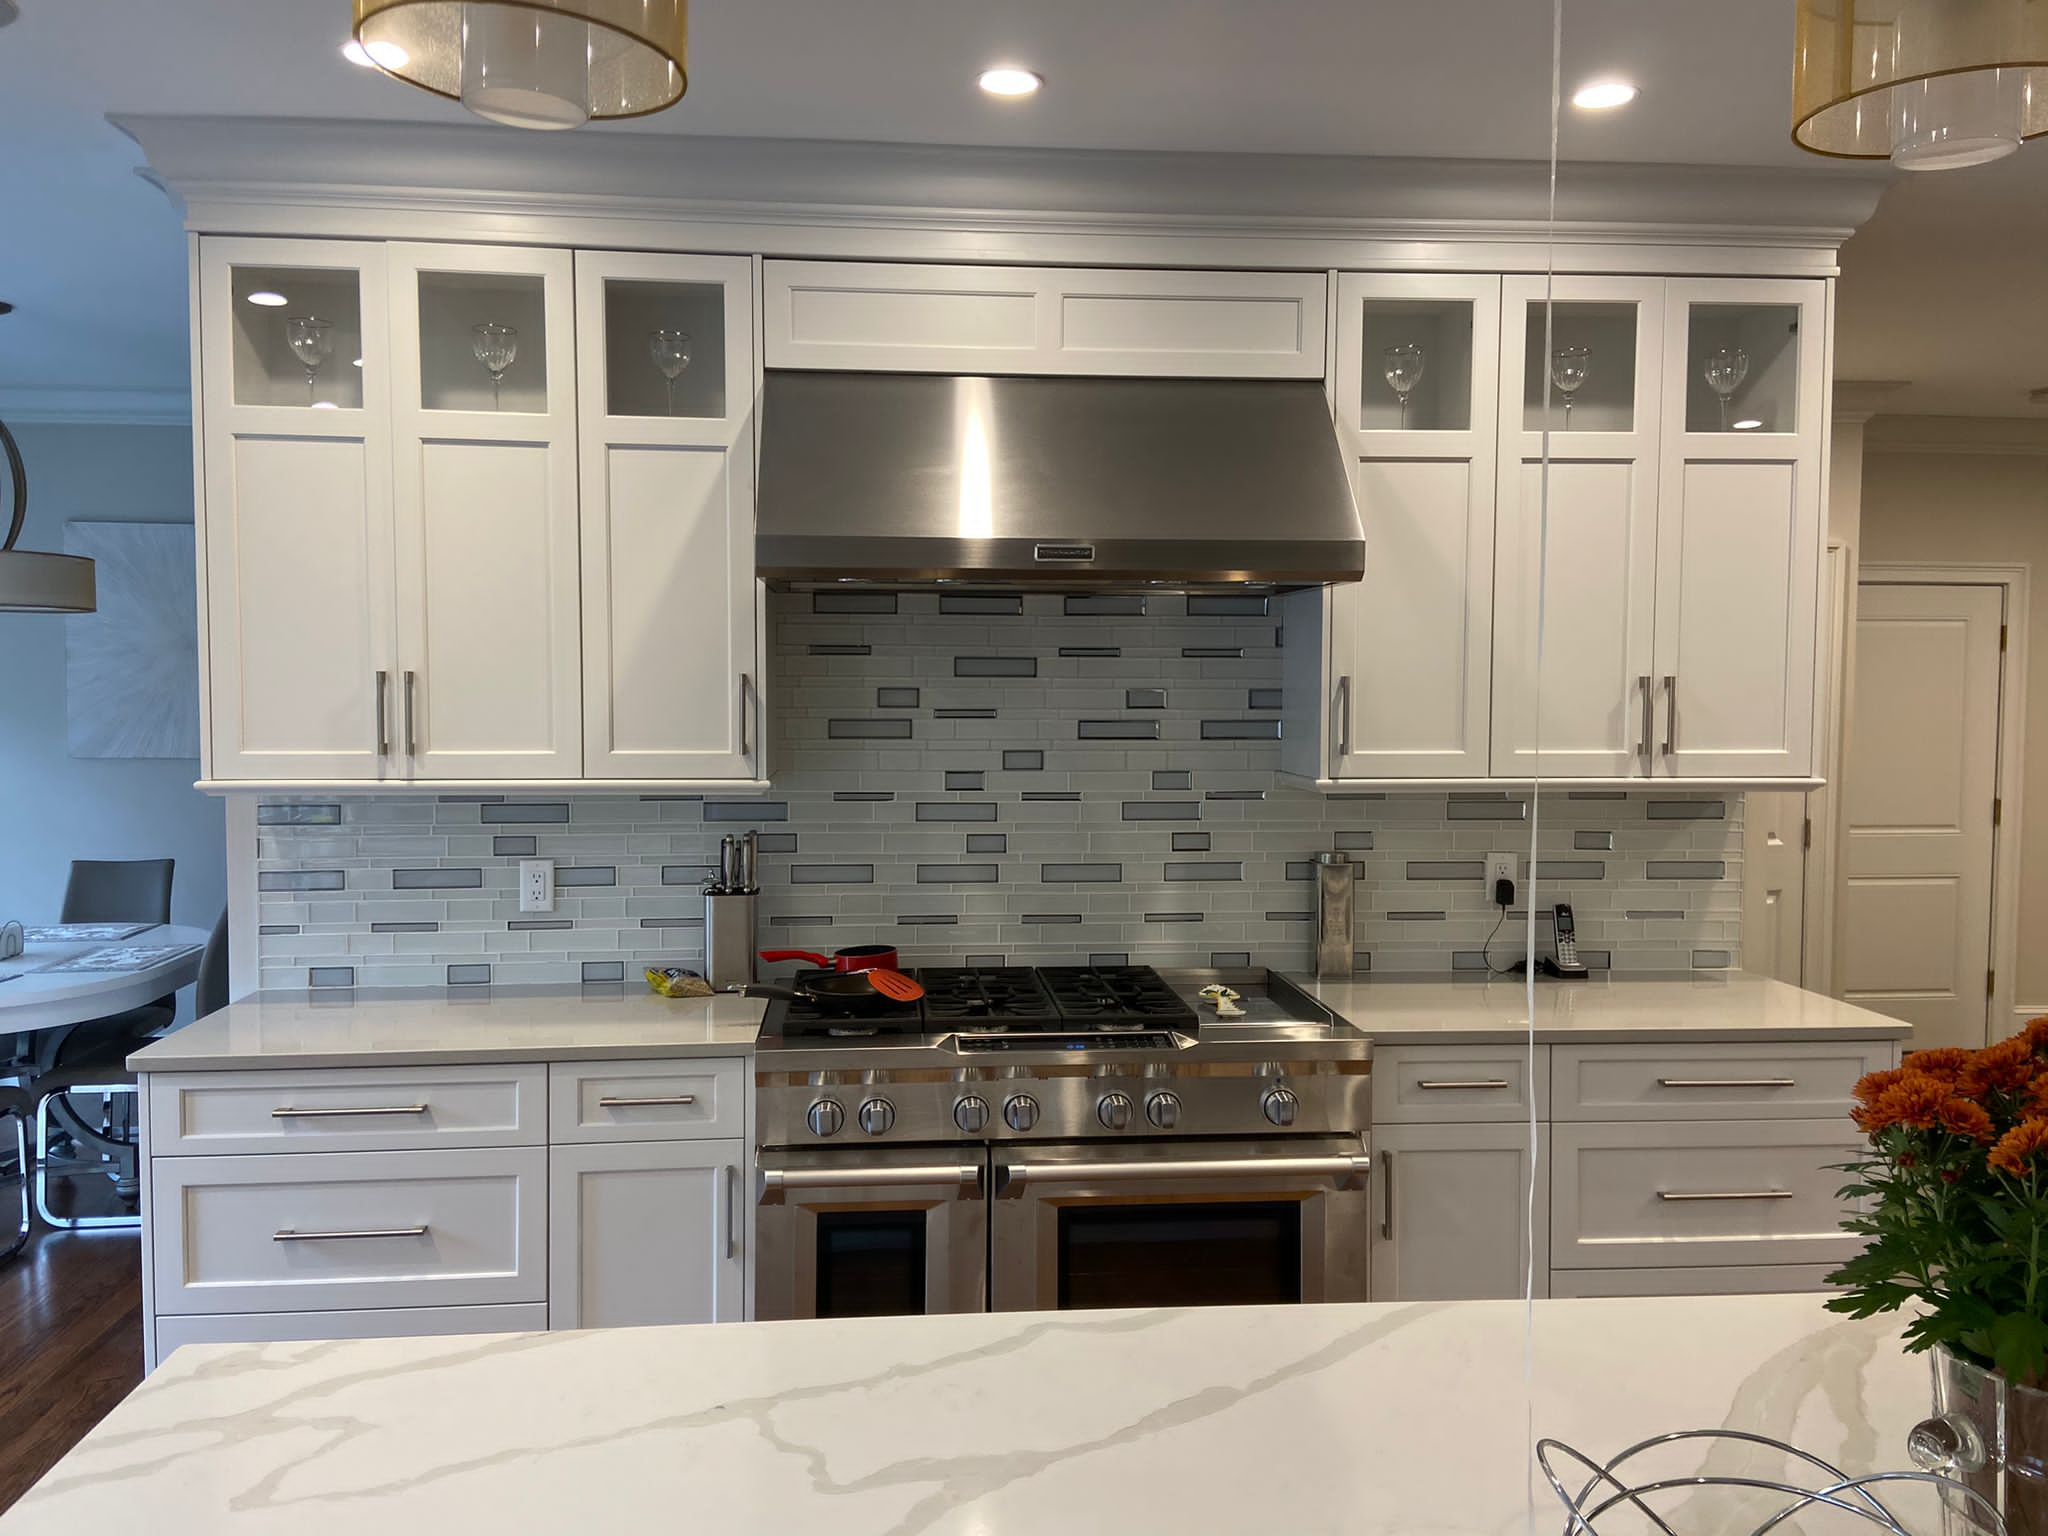
Drywall in new construction is the stage that turns bare framing into finished rooms. It happens after framing, insulation, and rough-in inspections, and it involves hanging panels, taping seams, applying multiple mud coats, and sanding to a smooth, paint-ready surface. Done well, drywall is invisible, you only notice it when it’s done wrong. For a flawless new home, the drywall phase is where quality is made or lost.
Building or adding on across the North Shore? Then you’re about to watch a stack of lumber become real living space, and the drywall phase is the moment it actually starts to feel like a home. We’re going to walk you through every step, from the framing that comes before to the finish that comes after, so you know what good looks like. By the end you’ll be able to spot quality drywall work on your own project.
Where Drywall Fits in the Build
Drywall comes after the bones of the house are in place. Framing defines the rooms, mechanicals (electrical, plumbing, HVAC) are roughed in, insulation goes in the walls, and inspections are passed. Only then do the walls get closed up with drywall installation, also called sheetrock. Get the sequence wrong and you’re tearing walls back open, so coordination matters.
From Framing to Flawless: The Process
1. Hanging the board
Panels are measured, cut, and fastened to the framing with the right screw pattern and spacing. Sheets are laid out to minimize seams and avoid joints in high-stress spots like corners around doors and windows. This planning stage quietly determines how clean the final wall looks.
2. Taping the seams
Every joint between panels, plus inside and outside corners, gets taped and embedded in joint compound. This is the structural heart of a drywall finish, weak taping leads to cracks down the road.
3. Mud coats
Multiple coats of compound are applied over seams, screw heads, and corners, each one wider and feathered further than the last so the joint disappears into the flat of the wall.
4. Sanding
Once cured, every surface is sanded smooth and checked under raking light, the unforgiving light that reveals any ridge or low spot before paint does.
5. Finish level
New construction walls are typically finished to Level 4, or Level 5 with a full skim coat for the smoothest possible result under glossy paint or dramatic lighting.
Drywall, Plaster, or Both?
Most new construction uses drywall for speed and value, but many North Shore homeowners upgrade key areas with a veneer plaster skim coat for added hardness and a seamless, premium feel. We can finish your new build in standard drywall, full plaster, or a hybrid, whatever fits the home and budget. In some homes we also handle the sheetrock installation alongside premium finishes in the same scope.
Why the Right Crew Matters in New Construction
Here’s the part builders know and homeowners learn the hard way: drywall is where a beautiful new home can quietly go wrong. Bad taping cracks within a year. Rushed sanding leaves waves that paint amplifies. Poor screw patterns cause pops. None of it shows on day one, all of it shows later. After 14 years finishing new construction and additions across the North Shore, our crews build walls that still look flawless years after the paint dries. That longevity is the whole point.
Additions: New Drywall Meeting Old Walls
Additions bring a unique challenge that ground-up construction doesn’t: the new drywall has to meet the existing house. Where a new room ties into an older one, the transition can betray the addition if it’s done carelessly, a visible ridge, a finish that doesn’t match, a seam that cracks as the two structures settle differently. Getting it right means feathering the new work into the old, matching the surrounding finish, and reinforcing the transition so it stays sound. In older North Shore homes where the existing walls are plaster, that often means blending new drywall or veneer plaster into original plaster, exactly the kind of work that benefits from a crew fluent in both. Done well, the addition feels like it was always part of the home.
One Crew, Whole-Project Finish
On a new build or major addition, it pays to keep the finish trades coordinated. We handle drywall, plaster, painting, tile, and carpentry, so your walls, finishes, and trim are delivered by one accountable team, including full-scope work in towns like Gloucester and Beverly.
What Separates Good Drywall From Great Drywall
To the eye, two freshly painted walls can look identical on move-in day. The difference shows up over the first year or two, and it traces back to details most homeowners never see during the build.
Screw pattern and fastening
Panels fastened with the correct screw spacing and depth stay put. Over- or under-driven screws lead to the dreaded “nail pops” that telegraph through paint as the house settles. Proper fastening is invisible insurance against years of touch-ups.
Seam layout
Where seams land matters. A thoughtful layout keeps joints away from high-stress areas and stacks panels to minimize visible seams. Rushed layout creates joints exactly where cracks love to form.
Mud coats and feathering
The number of coats and how wide each is feathered determines whether a seam disappears or photographs through the finished wall. Patience here is everything, each coat must cure before the next.
Sanding discipline
Even, careful sanding under raking light is the final quality gate. Skip it and the walls wave; do it right and they vanish into the room.
Drywall and the Inspection Process
In new construction, drywall is sequenced around inspections for good reason. Before the walls close up, the framing, electrical, plumbing, and insulation all need to pass inspection, because once the board is hung, everything behind it is sealed away. A good drywall crew coordinates tightly with the builder and other trades so the home is fully ready before a single panel goes up. Hanging drywall too early, before rough-ins are signed off, is one of the costliest mistakes on a jobsite, it means cutting walls back open. Timing and communication are as much a part of quality drywall work as the finishing itself.
Planning Your New Build or Addition
If you’re in the planning stage, a few decisions made early will pay off:
- Decide your finish level. Level 4 for standard rooms, Level 5 skim coat for spaces with big windows or glossy paint.
- Consider plaster upgrades. Identify key living areas where a veneer plaster finish adds value and feel.
- Coordinate the trades. Keeping drywall, paint, and tile under one crew tightens the schedule and the quality.
- Plan for finishes that follow. Smooth, well-finished walls are the foundation for everything painted, tiled, or trimmed afterward.
Frequently Asked Questions
What comes before drywall in new construction?
Framing, electrical, plumbing, and HVAC rough-ins, insulation, and the required inspections all come before drywall. The walls are only closed up once everything inside them is approved.
What finish level should new construction drywall be?
Most new homes are finished to Level 4. For the smoothest result under glossy paint or strong lighting, a Level 5 finish with a full skim coat is recommended.
How long does drywall take in a new home?
It depends on the home’s size, but hanging, taping, multiple mud coats with cure time, and final sanding typically span one to two-plus weeks. We provide a clear schedule for your build.
Should I upgrade new drywall with plaster?
A veneer plaster skim coat over new drywall adds hardness, sound control, and a seamless, premium feel. It’s a popular upgrade for key living spaces.
Build It Right From the Start
The drywall phase sets the tone for your entire finished home. Boston Strong Plastering has delivered flawless new-construction drywall and plaster across the North Shore for 14 years. Contact us or call (508) 689-8709 to talk through your project.